Tuesday, May 8, 2012

Maple Pecan Paleo Protein Cakes

- Maple Pecan Paleo Protein Cakes -

Remember Sandies? Those amazing pecan shortbread cookies - they are definitely one of these things some of us LOVE and some of us can't stand, obviously I'm one of the LOVE people. Although these aren't too reminiscent of the buttery, white sugar, bleached flour goodness of my past.... these actually tricked me into thinking I was eating dessert for breakfast. 

So I just bought Hemp Protein, why you ask? Hemp protein contains all nine of the life essential amino acids that our bodies require: Isoleucine, Leucine, Lysine, Methionine, Phenylalanine, Threonine, Tryptophan, Valine, Histidine. Hemp protein contains an almost perfect balance of essential fatty acids (EFA’s) Omega-3 and -6, a high content of fiber, minerals, vitamins and antioxidants. But I won't lie I do NOT like the taste... like not one bit. What's a girl to do? Find some dominant flavors that will compliment the weird nuttiness of the Hemp Protein... TA DAAAAA!

Quick note to you worried about the fat content in nuts - There are several scientific studies that have shown that pecans help protect your nervous system, have heart healthy antioxidants, are cholesterol lowering, and increase your metabolic rate! http://www.ilovepecans.org/nutrition.html for more info.

What you will need:

-1 Cup of pecans, chopped or food processed to nice little bits
-2 TB Coconut Flour
-2 TB Hemp Protein - I bought Bob's Red Mill brand that you can find at most Whole Foods
-2 TB Maple Syrup - I bought Whole Foods Organic Grade A (You can sub for Agave!)
-1/2 Tsp Baking Soda
-1/2 Tsp Vanilla Extract
-1/2-1 Tsp Cinnamon (I love cinnamon so I did a full tsp)
- 1/4 - 1/2 Cup Almond Milk - or milk of your choice
-2 Egg Whites
-1 Full Egg

-Coconut oil for your baking sheet or parchment paper

Preheat your oven to 350 degrees with the rack in the middle. I chose to use my nifty little food processor Greg's mom got us (thank you Cathy!) but if you are without just chop up your pecans into nice little bits. Like this...
Before:
 After:


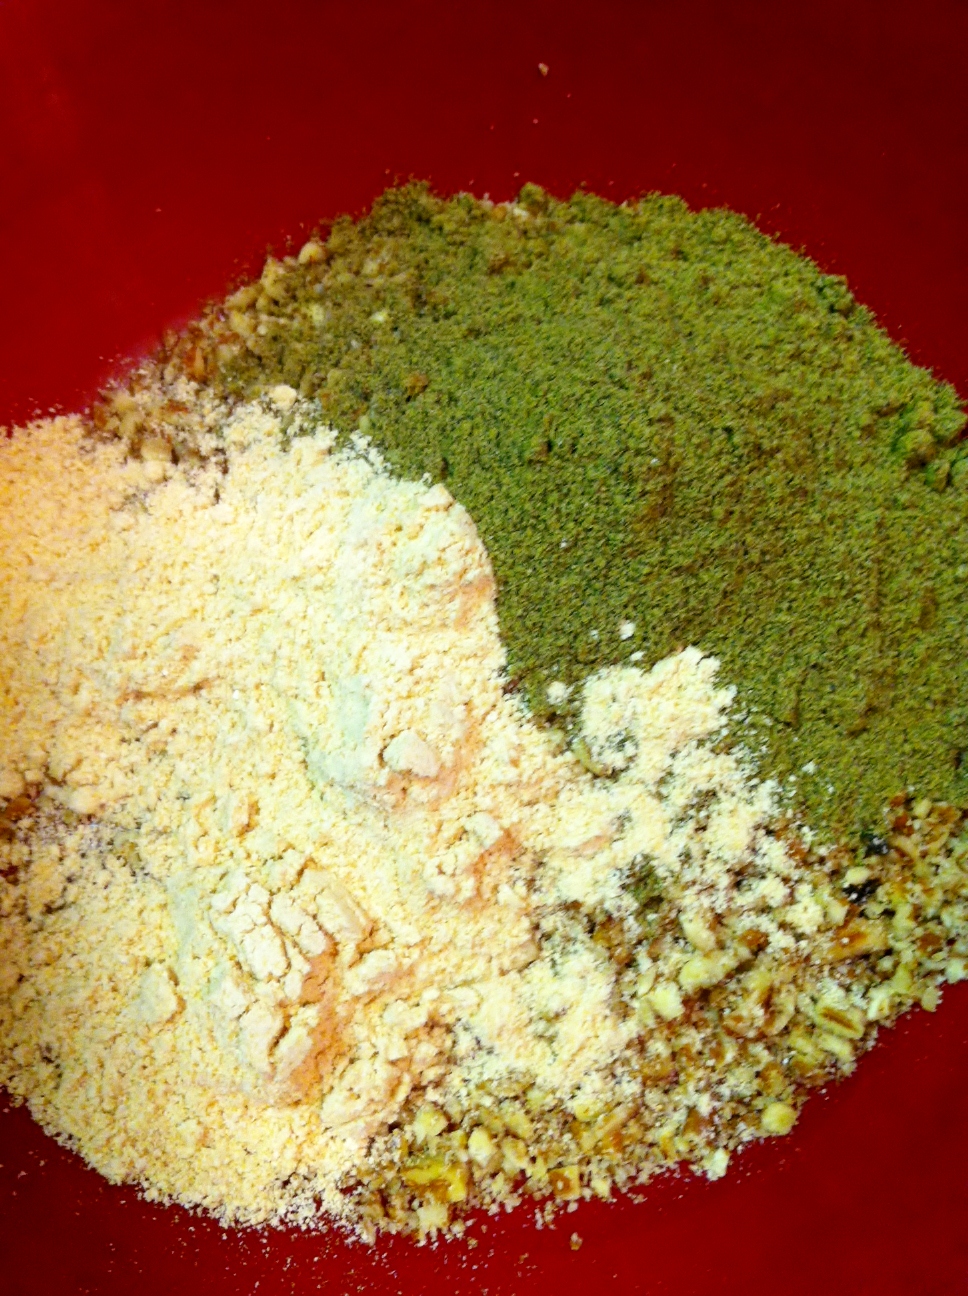
After you chop them up place them in a decent sized bowl. Add in your dry ingredients: coconut flour, hemp protein, baking soda, cinnamon and stir well. Yes hemp protein makes everything look a little odd.


Next add in your egg/egg whites and vanilla. Next add in maple syrup, than 1/4 almond milk. The batter seemed a bit thick to me so I added 1/4 cup more almond milk but honestly I think it was a little too much so maybe just add a dash until you have a good workable consistency. 


I forgot parchment paper AGAIN so I tried to oil the pan well with coconut oil. They shouldn't need too much room in between your cakes as they rise upwards but not really outwards. Note: my first batch came out slightly better using a cool pan - so if you need to do multiple batches let the pan cool a little!


I baked them for about 9-10 minutes and pulled them out as they will cook a little more after you bring the pan out. I let them sit for a few minutes than transferred to cooling racks.


Now my favorite part of this EAT! The texture was awesome.. kinda chewy, kinda crunchy all together YUM and best part? Did NOT taste like hemp protein - mission accomplished! If you want them a little more moist spread a little coconut oil on top or if you want to be a little naughty sprinkle some maple syrup on top! I made about 11 good sized cakes - if you want more snack size just make a bunch of small dollops! 

Nutrition Break down:

11 Servings
Amount Per Serving
  Calories107.5
  Total Fat8.4 g
     Saturated Fat0.7 g
     Polyunsaturated Fat2.3 g
     Monounsaturated Fat4.4 g
  Cholesterol0.0 mg
  Sodium81.0 mg
  Potassium53.8 mg
  Total Carbohydrate5.9 g
     Dietary Fiber2.0 g
     Sugars2.8 g
  Protein3.1 g
  Vitamin A0.8 %
  Vitamin B-120.0 %
  Vitamin B-61.2 %
  Vitamin C0.2 %
  Vitamin D1.1 %
  Vitamin E4.5 %
  Calcium1.8 %
  Copper6.5 %
  Folate0.6 %
  Iron1.8 %
  Magnesium3.5 %
  Manganese25.2 %
  Niacin0.6 %
  Pantothenic Acid    0.9 %
  Phosphorus    3.2 %
  Riboflavin0.8 %
  Selenium0.6 %
  Thiamin4.8 %
  Zinc3.3 %


*Percent Daily Values are based on a 2,000 calorie diet. Your daily values may be higher or lower depending on your calorie needs.


Until next recipe! Happy health & fitness! 

Friday, May 4, 2012

Healthier Paleo "Chili Rellano's"

I said I would do this post last night... but after a KILLER work out, some LA Kings Playoff action (leading the series 3-0!!), and quick hot tub sesh - I was down for the count.

One of my (and my Mom's) favorite Mexican dishes is good old deep fried Chili Rellano's - no matter what I do my recipe will never come close to the crispy, gooey, wonderfulness of beer batter but I tried to make a worthwhile replacement. Again, first time doing this and as you may see with my other recipes I perfect them as I go...

Note: for Greg's I did put a little cheese inside and as you can see on the outside as well - used the 2% Reduced Fat Sharp Cheddar - as with stronger cheeses you need much less to get that cheesy flavor that you may crave. His looked prettier cooked so I mostly took pictures as all I have is my trusty iPhone :)

Paleo Stuffed Chile Rellano's:

Note: I only had 3 Poblano Chile's & there was a lot of ground turkey left over - Which I don't mind as I eat 5-6 small meals a day and it's great having something pre-prepped (use in scrambles, with spaghetti squash & tomato sauce). However if you'd rather reserve your ground turkey for other uses try just cutting the recipe in half.


-1 Package Ground Turkey
-6 Poblano Chile's
-2 Tomatoes - I used Roma's
-1 Onion
-3 Gloves of Garlic
-1/2 Cup Chopped Bell Pepper (I had to use frozen as they are expensive in our area - canned green chile's would work great too!)
- 2 eggs separated (more for more chile's)
-Gluten Free Bread Crumbs (Basically Corn Meal broken down -next time I will try to just use corn meal and coconut flour and put it in my food processor)
-2% Low Fat Sharp Cheddar if desired

"Taco Seasoning": - You can buy pre-made but watch out for lots of salt & MSG!
-1 TBS Chili Powder (I added a few dashes more as mine isn't very potent)
-1/4 tsp Cayenne
-1 tsp Oregano or Italian Herbs is fine
-1 tsp Paprika
-2 tsp Cumin
-1 tsp Veggie salt or Sea Salt
-1 tsp black pepper - I added more but I LOVE black pepper

Also Need:
-Coconut oil for skillet
-Brown paper bag (I honestly use my Whole Foods bags)
-Enchilada sauce if desired


Slice a small slice to reach in and de-seed your peppers and rinse out (mine was too big whoops!). Turn the oven on Broil High & have your rack on the top spot. I like to let flavors "meld" for awhile so I chopped up the onion, peppers, tomatoes and pressed the garlic (mincing is fine too!) and let it cook on medium heat in a fair amount of coconut oil. I than placed the peppers on a baking sheet and put them on the top rack under the broiler. Keep mixing around your veggies in the skillet to prevent burning but they are good when they get a little browned! Keep an eye on the peppers in the oven, you want the skin to get blackened and flip so that both sides get a good blackened skin on each side. While the peppers are "burning" add in your Taco Seasoning to the veggies - I do this before I add the turkey as it seems to spread the seasonings easier. 

By now you should be able to take your peppers out - take them and place them in a brown paper bag and roll closed and let sit for 2-3 minutes to steam. DON'T LET THEM SIT TOO LONG! I accidentally did and they were a pain to work with. They'll taste fine just hard to stuff. 


Add in your turkey and "chop it up" well with your spatula and mix it thoroughly with your veggies. While you let that cook your peppers should already be back on the cookie sheet and gently peel all the skin off - just the thin layer of semi-transparent skin.... It should be pretty easy at this point. Cover the turkey and cook until you can just see there is no pink anymore - add 2 egg yolks near end of cooking. Remove from heat and let cool for a few. 

Preheat over to 350 degrees - and place rack in middle of oven. Whip your two eggs whites until frothy. Now carefully stuff the peppers as much as you can - add cheese if desired - pinching the open edge dip well into the egg whites and than immediately into your bread crumbs and place on well greased or foiled baking sheet. Repeat with all your peppers - then sprinkle the rest of the egg whites over each and drizzle some more bread crumbs (GF bread crumbs just don't stick as well as normal bread crumbs). I also drizzled a little Tapatio.. couldn't help myself :)


Bake for 30 minutes and if you're like me and like them good and crispy turn that broiler back on and broil for 5 minutes - really that's all you need!

BEFORE:

AFTER:

I have not figured out calorie info for them yet but I will later today - time to get to work! :)

If you don't like them too dry you can easily follow all these steps and heat some enchilada sauce in a sauce pan and drizzle over afterwards which we may do next time I just didn't have any prepped!